Setting up a new Thunderbird account with Microsoft MFA
This guide is for setting up a Purdue user account in Mozilla Thunderbird from scratch. If you already have an existing Thunderbird setup for Purdue you can use this guide.
This guide also assumes your copy of Thunderbird is at least close to being up-to-date. Any copies that have not been updated for a number of years might not have an "OAUTH2" setting available in the windows below. Also some slightly older versions of Thunderbird might have slightly different setup windows. Version 78 or later of Thunderbird is required.
If you have not set up your Microsoft multi-factor authorization, please see the Purdue MFA information page and follow the needed steps. This guide assumes your Microsoft MFA is configured and working.
Step-by-step guide
-
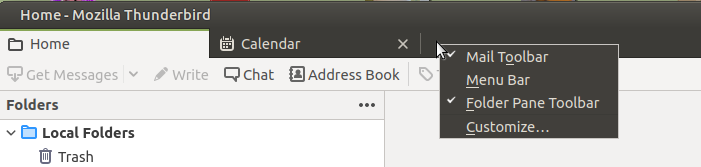
First, make sure that the Thunderbird Menu Bar is on. You can do this by right clicking on an empty section of the Tab bar and right clicking. Make sure there is a check mark by "Menu Bar".
-
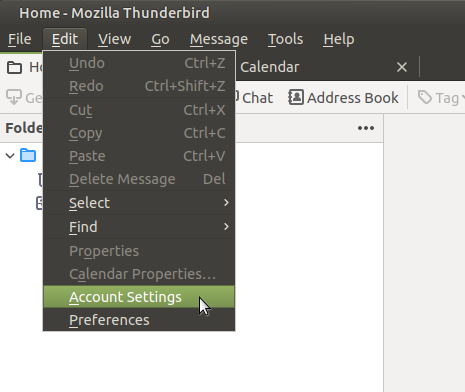
Launch Thunderbird, and then click Edit and then Account Settings.
-
Click on the Account Actions dropdown at the bottom of the window, and then on Add Mail Account.

-
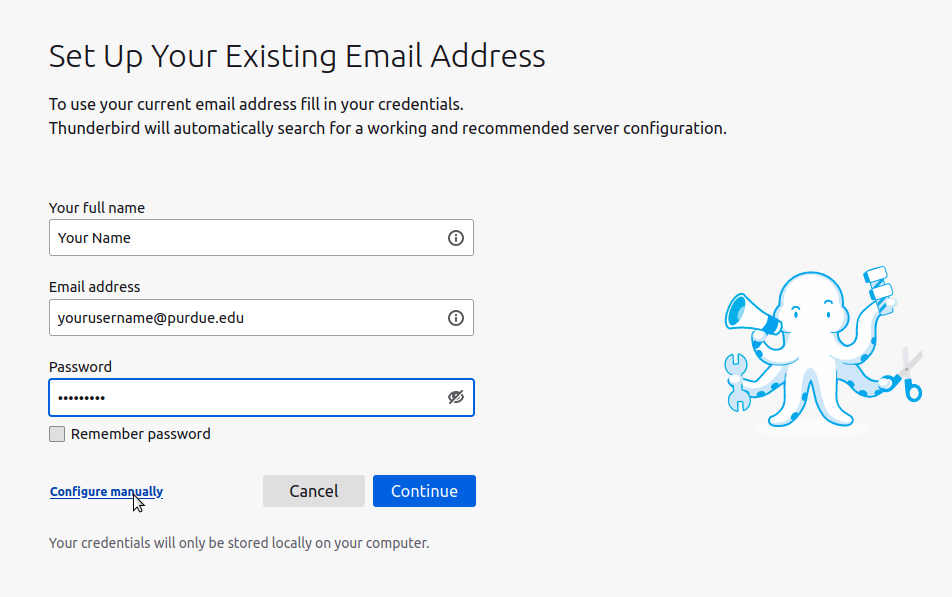
Type in your name and email address, uncheck Remember password, and then click Configure manually. Be sure to use your actual Purdue career account username instead of “yourusername”, below.
-
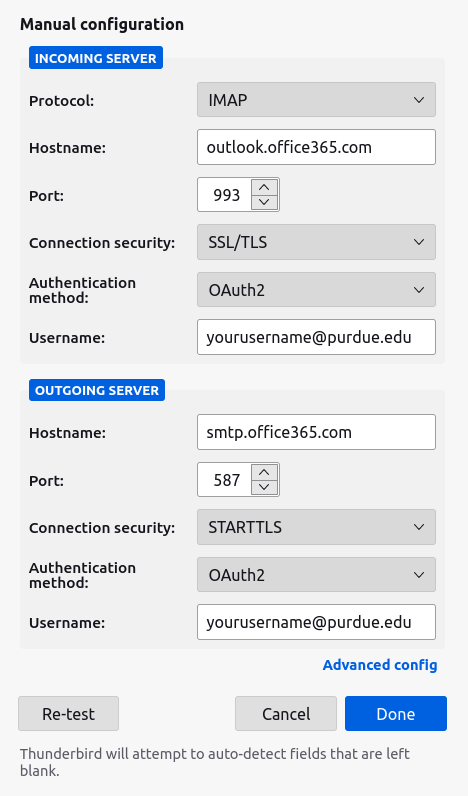
Complete the form using the following template as a guide. Be sure to use your actual Purdue career account username instead of “yourusername” below. Click Advanced Config when you are ready to proceed.
-
Click OK to confirm advanced configuration if this dialog box appears.

-
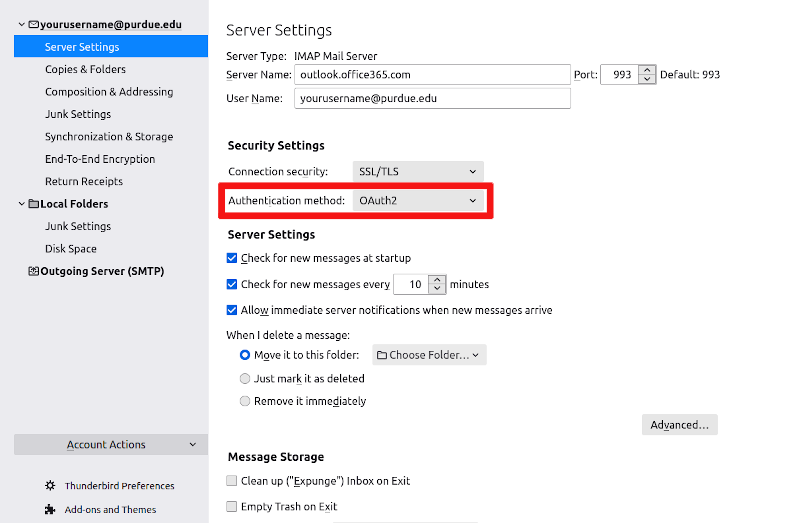
Check and confirm that OAuth2 is selected in the Authentication Method drop down. The Connection Security setting, Server Name, and Port number should also match.
-
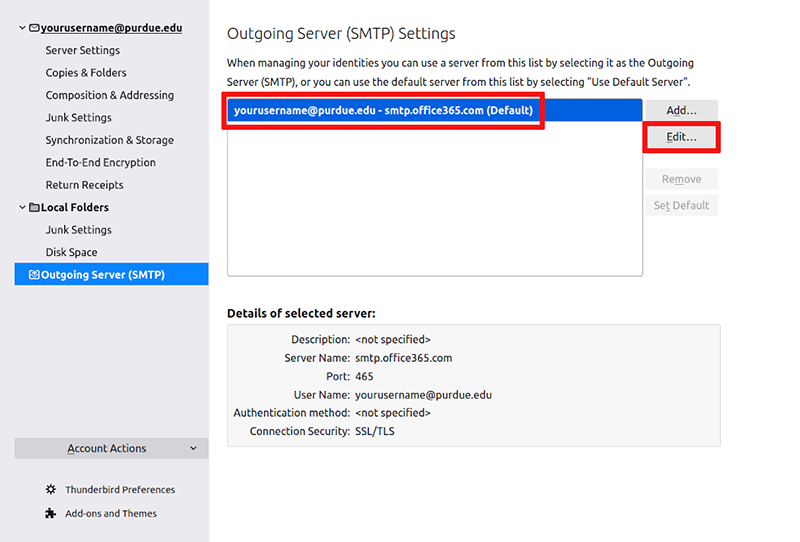
Click on Outgoing Server (SMTP), then select smtp.office365.com, and click Edit.
-
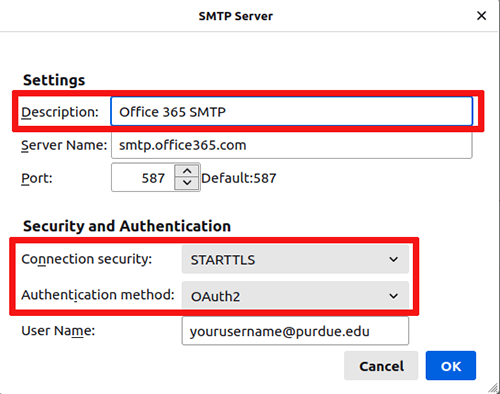
Make sure your SMTP settings match this example using your Purdue username in place of "yourusername". Click OK when you are finished.
-
Ensure that the account is using the correct SMTP server like in the example. You can close this window when you are finished.

-
You are finished setting up the account. You can now click Get Messages to view your latest emails. The first time you retrieve email you will need to log in using your Purdue Career Account password and your Microsoft 2FA app or other authenticating device. This log in screen might appear from time to time when your OAUTH2 token expires.

Related articles: