How do I create a Survey in Brightspace?
Create A Survey
- From the course navigation bar, click Course Tools and select Surveys from the drop-down.

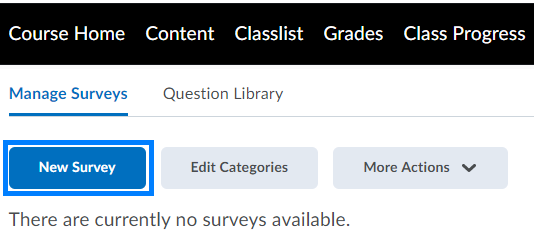
- Click New Survey.
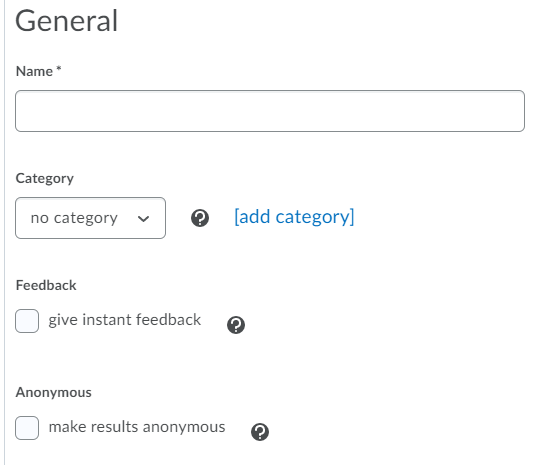
- From the Properties tab, enter a name for the survey and modify the instant feedback and anonymity settings as desired.
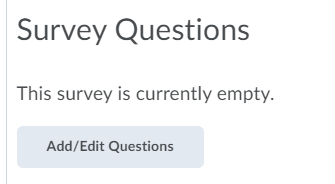
- Click Add/Edit Questions to begin adding questions to the survey.
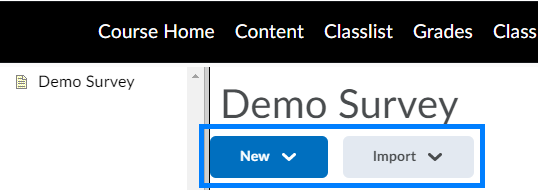
- Click New to create new questions or click Import if the questions already exist in the Question Library.
- When you have finished adding questions, click Done Editing Questions near the top-right.

- Click the Restrictions tab to modify the survey’s availability, add release conditions, modify the number of attempts students have, and/or grant special access.
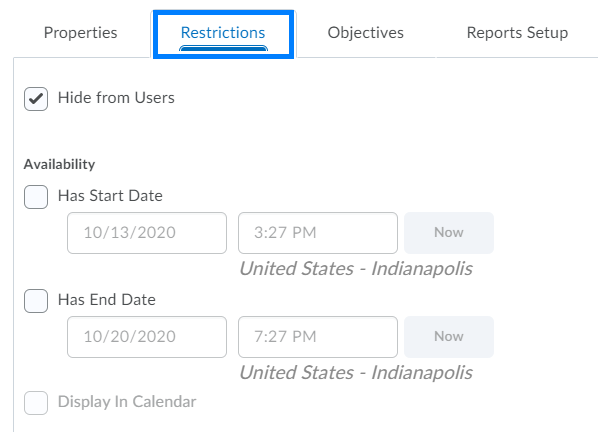
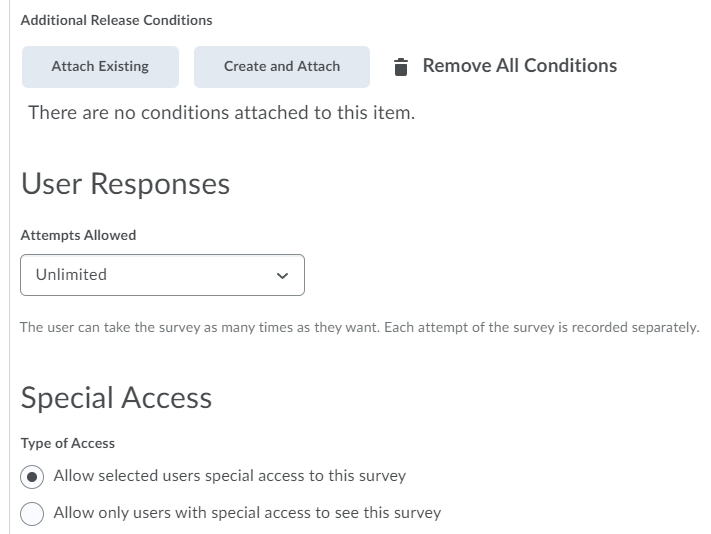
PLEASE NOTE: Hide from Users will be checked by default. This must be unchecked when you are ready to make the survey visible to users. A survey must be visible for the availability dates to take effect. When the survey is visible but it is outside of the timeframe established by the start and end dates, students will see the survey exists, but will not be able to engage with it. - When finished, click Save and Close.
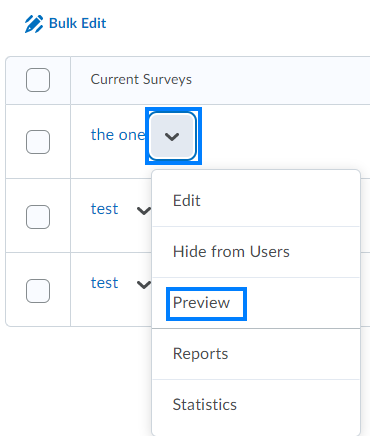
- To preview the survey, click the drop-down icon to the right of the survey name and select Preview from the drop-down.
Add The Survey To A Content Module
The Surveys area under Course Tools shows all of the surveys in the course. You can insert them into any Content module to list them with related content.
- From the course navigation bar, click Content and navigate to the module location where the survey should reside.
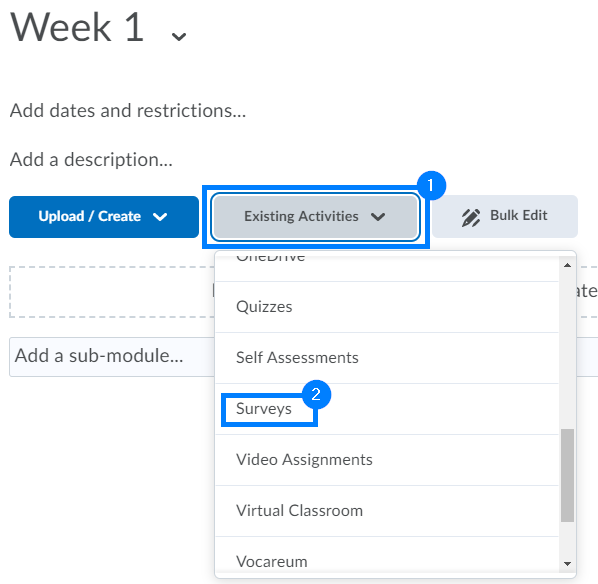
- Click Existing Activities and select Surveys from the drop-down.
- Click the survey you would like to insert.
Last Updated: 1/8/2022