How do I create a quiz in Brightspace?
In Brightspace, the Quizzes tool enables you to conduct quizzes, tests, and exams in an online format.
Create A Quiz
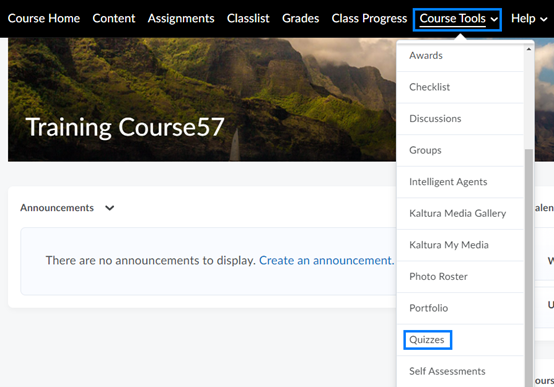
- From the course navigation bar, click Course Tools and select Quizzes from the drop-down.
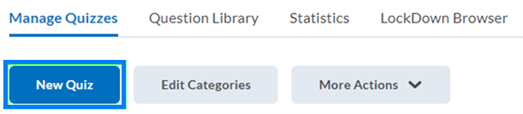
- Click New Quiz near the top-left of the screen.
- Enter a name for the quiz.
- Click the Add Existing drop-down. From here, questions can be uploaded from a compatible file type or searched for from the question library, if previously created.

- Click the Create New drop-down. From here, you can create new questions, sections, or question pools. Sections allow you to group similar questions together. Question pools allow you to randomly pull a specified number of questions from a pre-existing section of questions. Question pools assist in randomizing quiz questions for students.

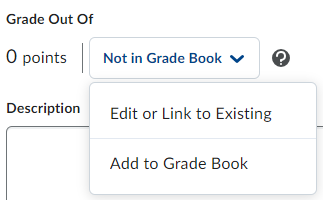
- After all questions have been added to the quiz, you can connect the quiz to the gradebook by clicking the Not in Grade Book drop-down and selecting Add to Grade Book. This will create a grade item for this quiz in the gradebook.
Availability Dates & Conditions
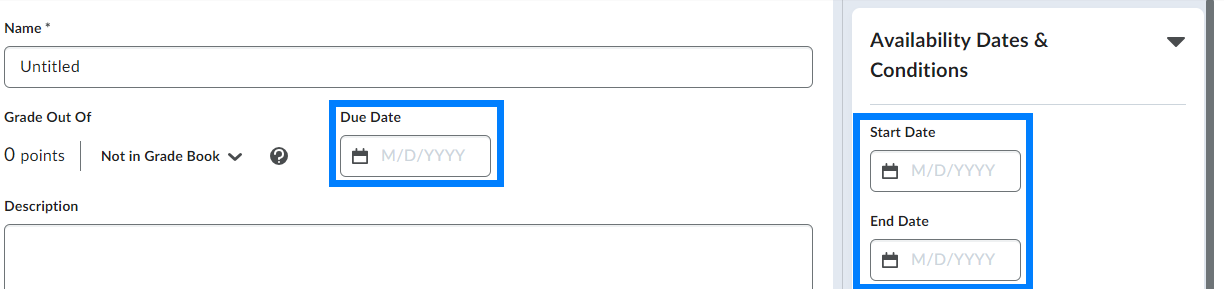
- From the Availability Dates & Conditions section, you can set the Start Date and End Date of the quiz. This is optional. The Start Date establishes when students will be able to enter the quiz and begin answering questions. The End Date establishes when the quiz will no longer be available for students to enter. From the center of the page, you can also set the Due Date of the quiz. Quizzes submitted after the due date will be marked late.
PLEASE NOTE: The quiz must be made Visible in order for it to become available to students during the timeframe you establish. When a quiz is made visible, students will see the quiz exists, but will not be able to enter it until the Start Date/Time you establish. If the quiz is hidden, students will not be able to see the quiz exists.
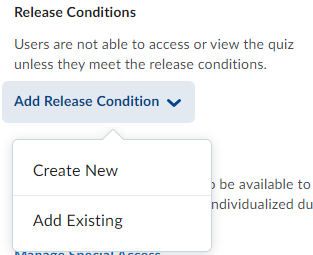
- Release Conditions enable you to restrict the visibility of a quiz until students have met one or more established criteria. An example of this might be creating a release condition requiring that students have submitted to an assignment. Once they submit that assignment, the quiz will become visible to them.
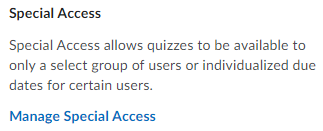
- Special Access settings enable you to extend or set alternative availability of a quiz for specific students. This is often used if students are unable to complete the quiz during the established timeframe due to illness or other conflicts. For information on establishing DRC-related time accommodations, please visit Purdue’s Brightspace documentation webpage.
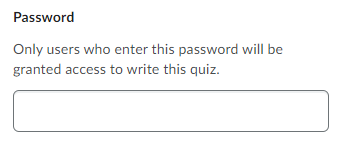
- Password enables you to set a custom password for the quiz. When in use, students will be prompted to enter the quiz password before entering the quiz. This feature is often used for proctored exams or exams that will take place in-person. The instructor or proctoring software then shares the password at the start of the exam.
- IP Restrictions enable you to restrict access to a Brightspace quiz to a specific IP range. This could theoretically be used to restrict access to the quiz to a specific computer lab.
PLEASE NOTE: We do not recommend using this feature.
Timing & Display
- Set time limit enables you to establish how long students have to complete the quiz.
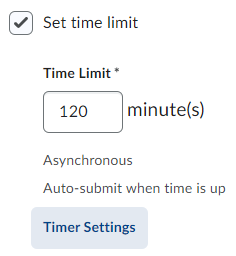
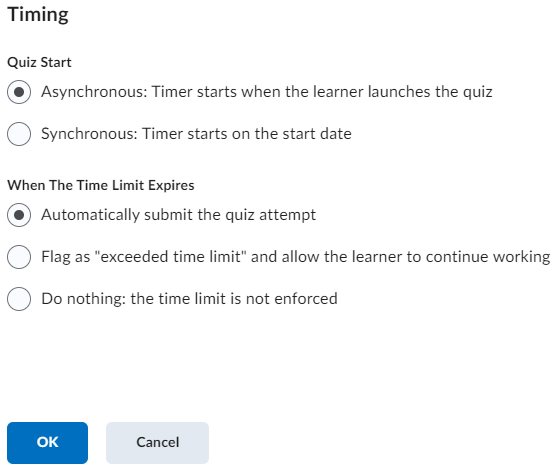
- Timer Settings enables you to set whether the quiz should be asynchronous or synchronous. You can also establish how you would like the quiz to function once the time limit is up.
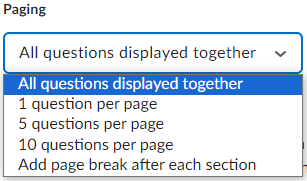
- Paging allows you to customize how questions are presented to students in the quiz.
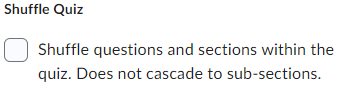
- Shuffle quiz questions and sections... will provide each student with the questions in a different order than their peers receive them.
- Display options allow you the ability to provide students with hints on questions. If used, you must establish these hints within each question of the quiz. You can also disable student access to email, instant messages, and alerts within Brightspace. This does not prevent students from accessing email or other messaging tools outside of Brightspace.

- Header and Footer allow you to customize the appearance of the quiz and provide any details that should always be visible to students during the quiz.
Attempts & Completion
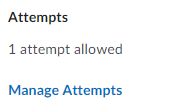
- Attempts enable you to customize how many attempts a student should have on a given quiz. If more than one attempt is allowed, you can customize how the grade should be recorded in the gradebook.
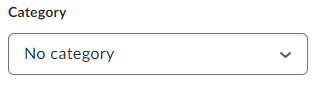
- Category enables you to group similar assignments together. Assignment categories are displayed from Course Tools > Assignments. These categories do not correspond to the gradebook in anyway.
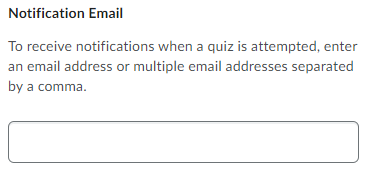
- Notification Email enables you to list the email address(es) of individuals who should be notified via email everytime a submission is made to the particular assignment. This feature is not commonly used in academic courses as instructors will see an indicator within Brightspace when an new submission has been received.
Evaluation & Feedback
Brightspace is able to auto-grade many question types such as multiple choice, true/false, multi-select, etc. Question types such as Written Response, require instructors to review and assess manually. Instructors can customize when/if grades are published to the Brightspace gradebook and when/if any feedback is released to students.
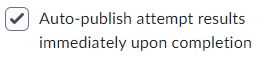
- Auto-publish attempt results immediately upon completion will publish the grade of all questions able to be auto-graded by Brightspace immediately upon students submitting their attempt. Question types that cannot be evaluated by Brightspace will be marked 0 until evalauted by an instructor or TA.
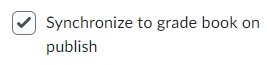
- Synchronize to grade book on publish will push the student's grade to the gradebook once evaluated.
- You can customize whether or not students should see their attempt grade immediately upon submitting their quiz. And also if they should see any information regarding the questions they got correct or incorrect.

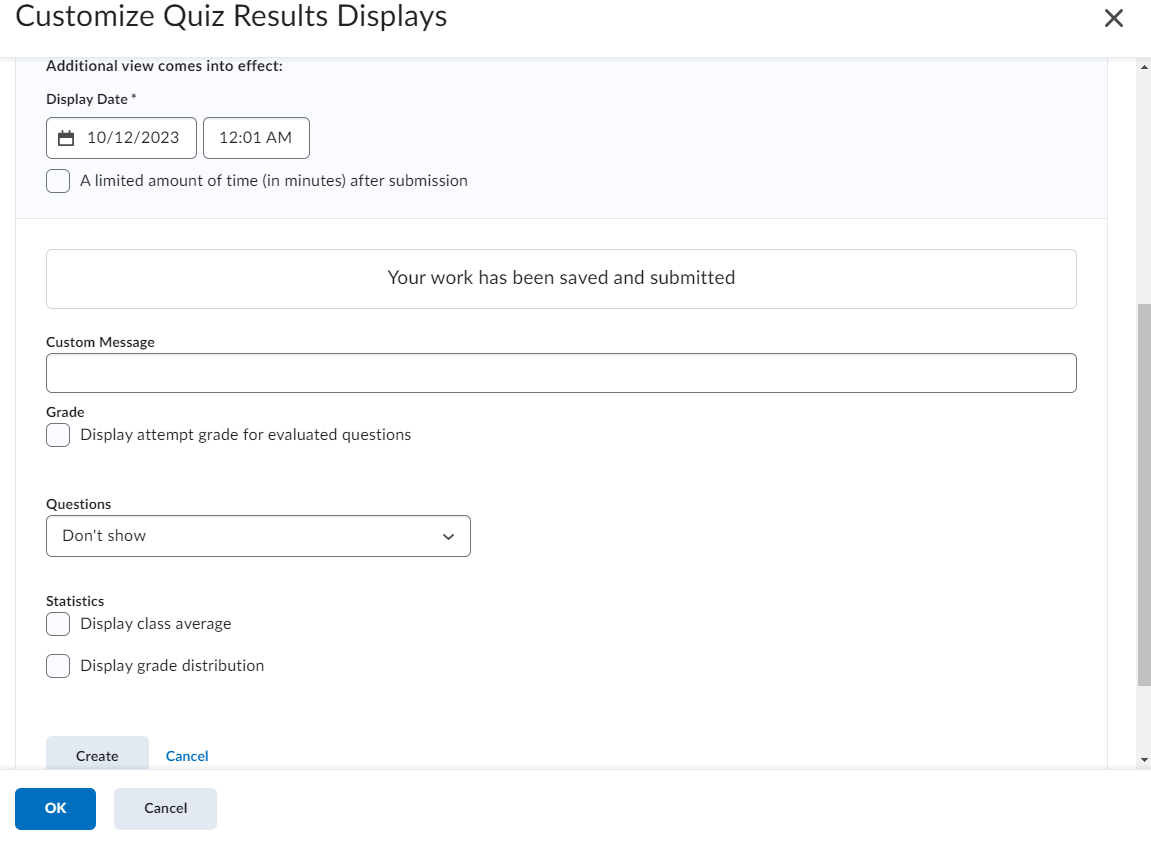
- Alternatively, can also choose to release feedback to students at a later date/time (i.e. after the quiz has ended or after all students have submitted). To do this, click Customize Quiz Results Displays and click +Additional View. You can establish the date/time students can return to the quiz to access their feedback, establish the level of feedback to be provided, and determine if you would like the class statistics released. When finished, click Create and then click OK.
PLEASE NOTE: Students will only be able to view quiz answers and feedback by going to Course Tools > Quizzes. These details will not be available to them from the gradebook.
Add A Quiz To A Course Module
The Quizzes area under Course Tools lists all of the quizzes within the course. You can insert them into a Content module in order to list them with related content.
- From the course navigation bar, click Content and navigate to the module location where the quiz should reside.
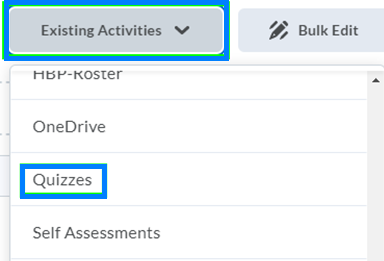
- Click Existing Activities and select Quizzes from the drop-down.
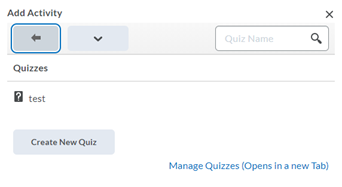
- Locate and click the quiz you would like to insert.
Last Updated: 10/11/2023