How do I create a demo student for my course in Brightspace?
PLEASE NOTE: The demo student is associated with an individual course. A demo student will need to be created in every individual course where a demo student is desired. Only one demo student can be created per course.
Create A Demo Student
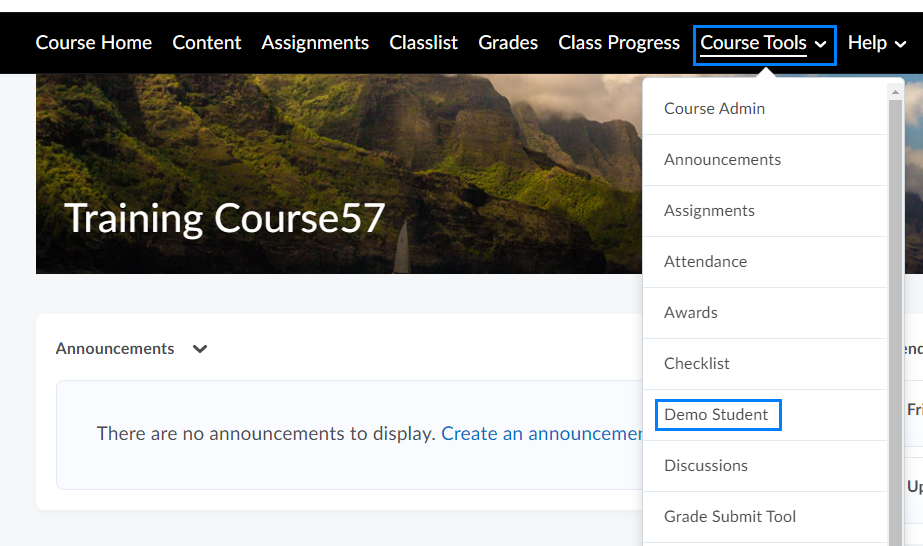
- From the Brightspace course you would like to add a demo student to, click Course Tools from the course navigation bar and select Demo Student from the drop-down.
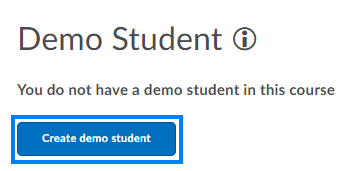
- Click Create Demo Student to add a demo student to the course.
- Click Go to Classlist to view the demo student.
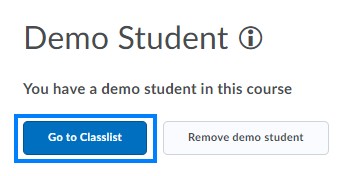
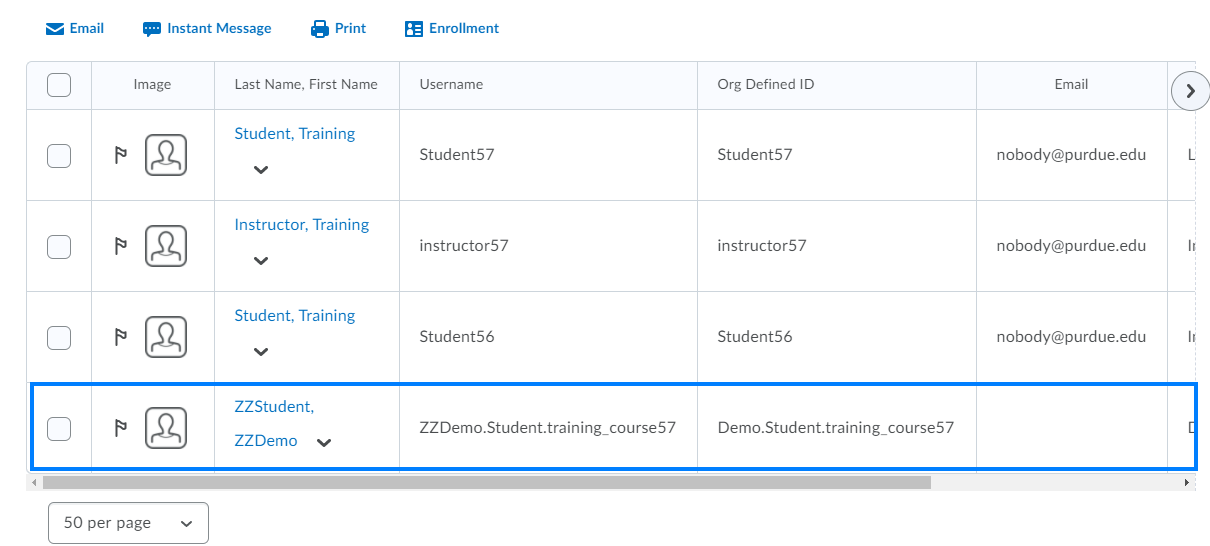
PLEASE NOTE: If you click 'Remove demo student', all progress made using the demo student will be lost and cannot be retrieved. - The demo student will be listed in the Classlist as ZZStudent, ZZDemo.
Impersonate The Demo Student
The Impersonate function allows you to view the course just as a student would. You can take quizzes, check open dates, test release conditions, and populate the gradebook.
- Click Classlist from the course navigation bar.

- Navigate to the Demo Student, click the drop-down to the right of the name, and select Impersonate.

- Click Yes in the pop-up that appears. This suspends your current session and logs you in as the demo student.

PLEASE NOTE: Your course appears as it would to your students. You can perform student functions such as taking quizzes and assignments.
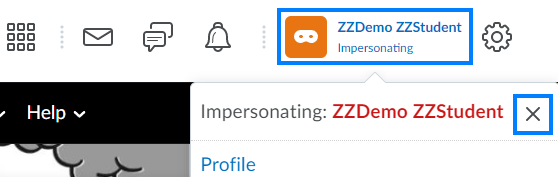
- When finished, click the Demo Student’s name near the top-right and click the X to return to your default view.
Last Updated: 1/8/2022