How do I create groups in Brightspace?
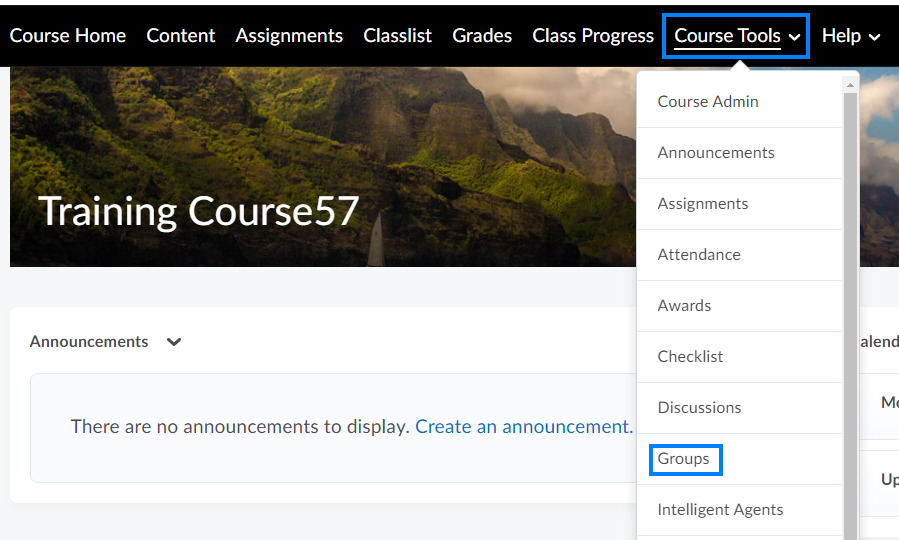
- From the course navigation bar, click Course Tools and select Groups from the drop-down.
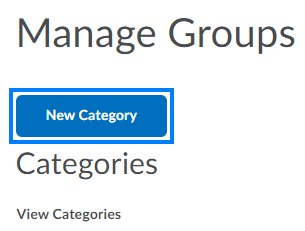
- Click New Category. This category will house the individual groups.
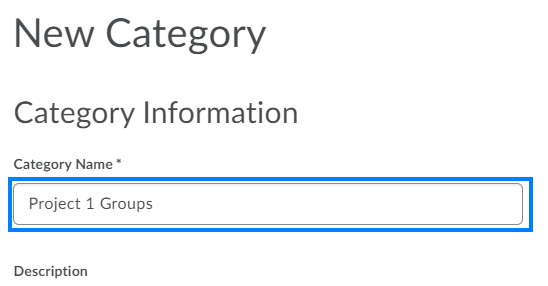
- Enter a name for the group category (i.e. Project 1 Groups). Multiple group categories can be created in a Brightspace course.
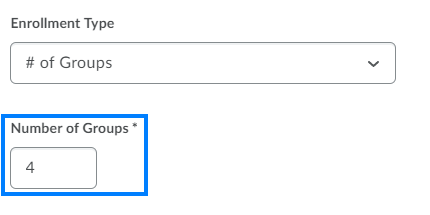
- Click the Enrollment Type drop-down and select the desired enrollment option.

- If you would like to manually assign students to groups, choose # of Groups – No Auto Enrollments.
- If you would like Brightspace to automatically assign students to the groups, we recommend choosing either the Groups of # or # of Groups.
- If you would like to manually assign students to groups, choose # of Groups – No Auto Enrollments.
- Enter the desired number of groups or users. This option will depend on your previous selection. If you chose the Single user, member-specific groups enrollment type, you will not see this option.
- If you previously chose either the Groups of # or # of Groups option, we highly recommend checking the Auto-Enroll new users option under Advanced Properties. With this option checked, anyone who adds your course after these groups are created will be automatically distributed into a group without any work on your part.

- Click Save when finished.

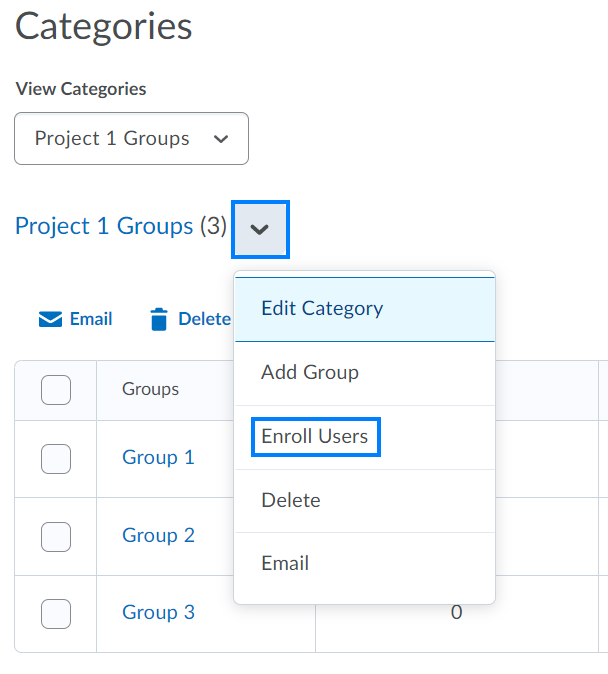
- If you previously chose the # of Groups – No Auto Enrollments option, click the drop-down to the right of the category you just created and select Enroll Users from the drop-down. From here, you can assign students to particular groups.
Last Updated: 5/5/2022