Rules for Use
| Prints can only be started during operating hours |
| PLA Only |
| Self Use Only |
| Users new to the Bambu Studio, Bambu Printers and Boiler Makery must seek training from P&P Lab |
| Must follow all posted instructions |
| No Personal Filament |
| No Servicing of Printers |
| No Loading / Unloading Filament |
| Users must adhere to university policies and member agreement |
Instructions
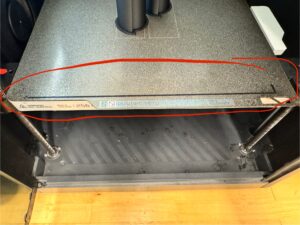
Step 1: Clear all purge lines from print bed.
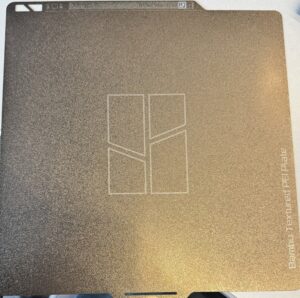
Step 2: Ensure build plate is completely clear and installed correctly with the white label facing you.
Step 3: Upload a *.3mf / *.stl file to the USB drive attached to the table next to BechtelBambuNo3.
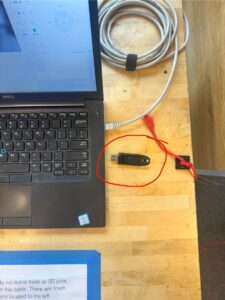
Step 4: When uploaded, connect USB drive to BoilerMakery Laptop.
Step 5: Add file onto Bambu Studio slicer.
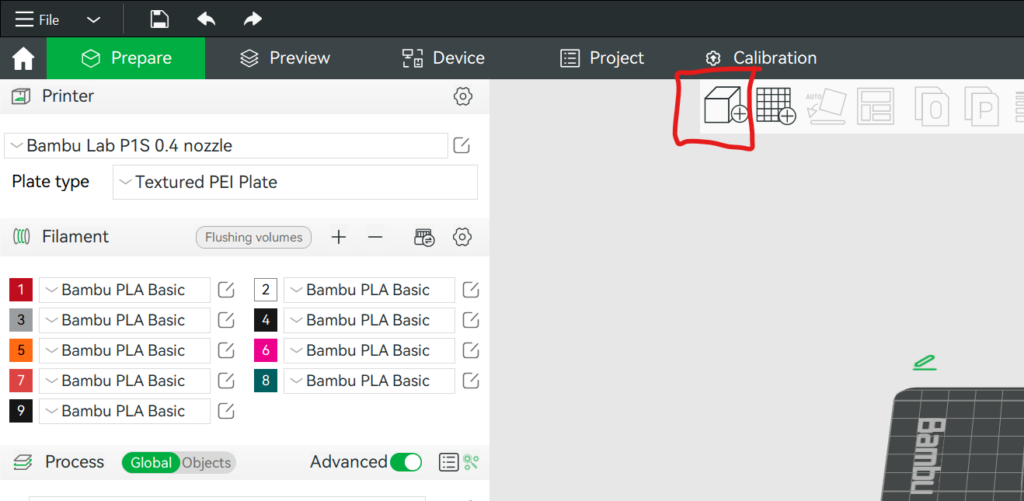
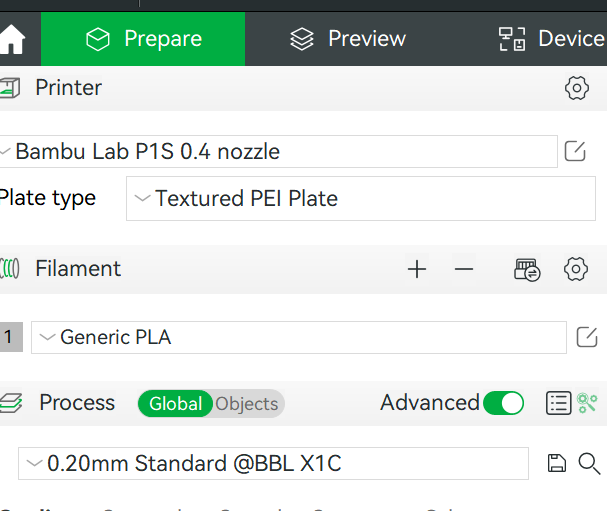
Step 6: Set the following settings:
Printer: Bambulabs P1S
Nozzle: 0.4mm Nozzle
Filament: Generic PLA
Step 7: Generate any supports if necessary then slice files
Step 8: Navigate to Devices on BambuSlicer

Step 9: Print files and please do not leave prints unattended